Now that the plaster is ready, we can start the next step of building our model.
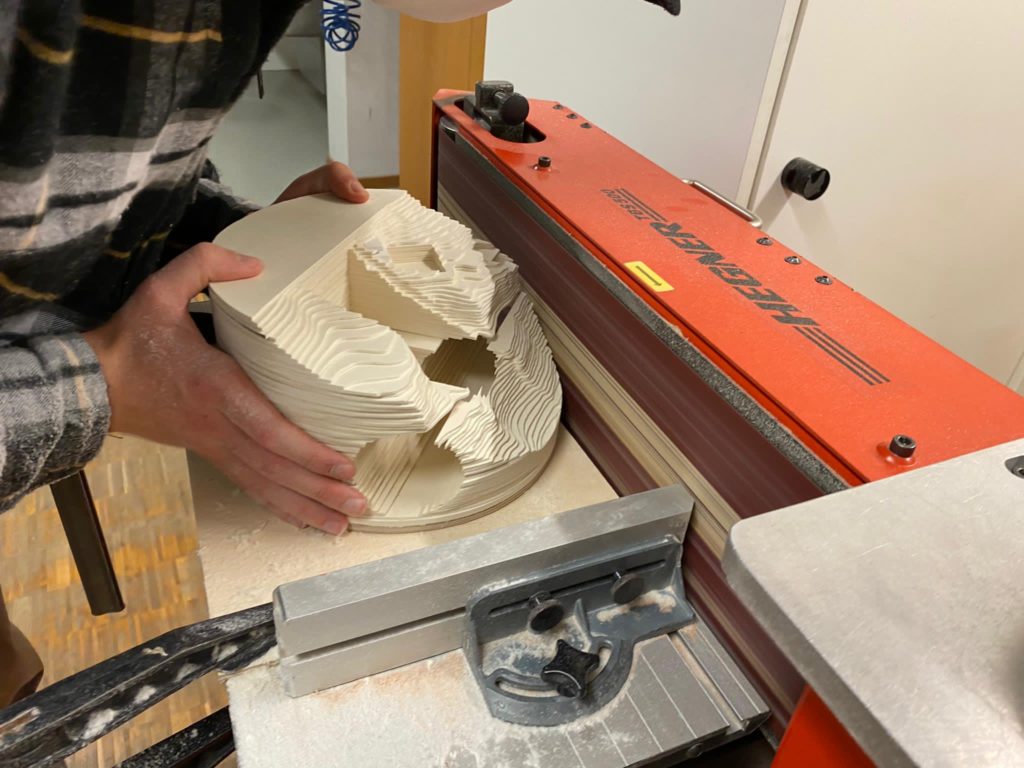
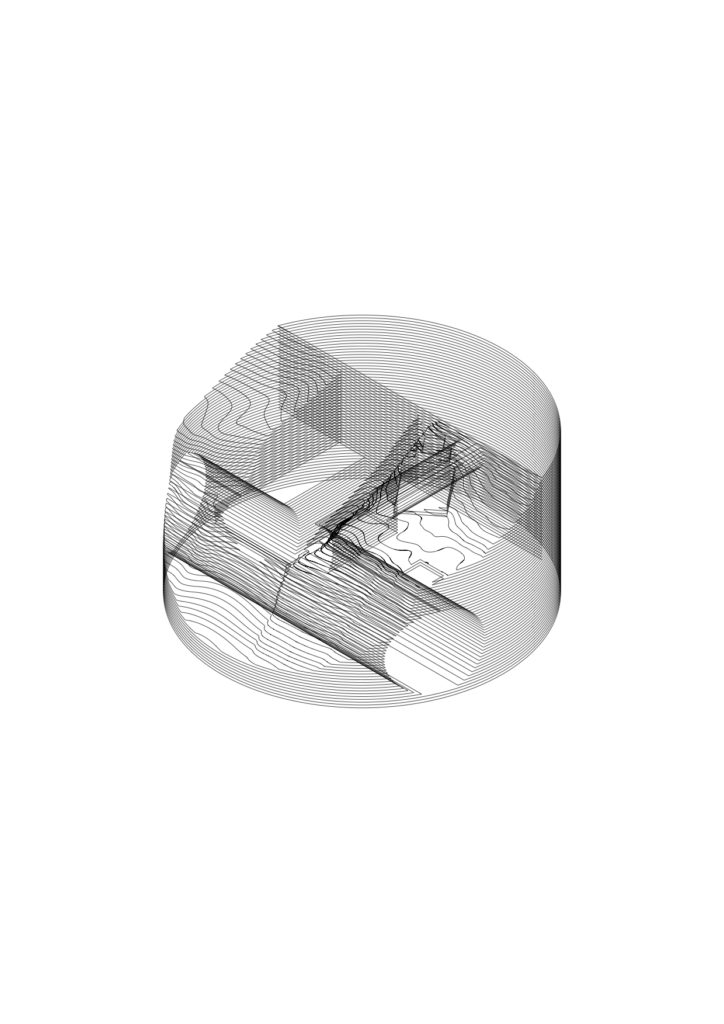
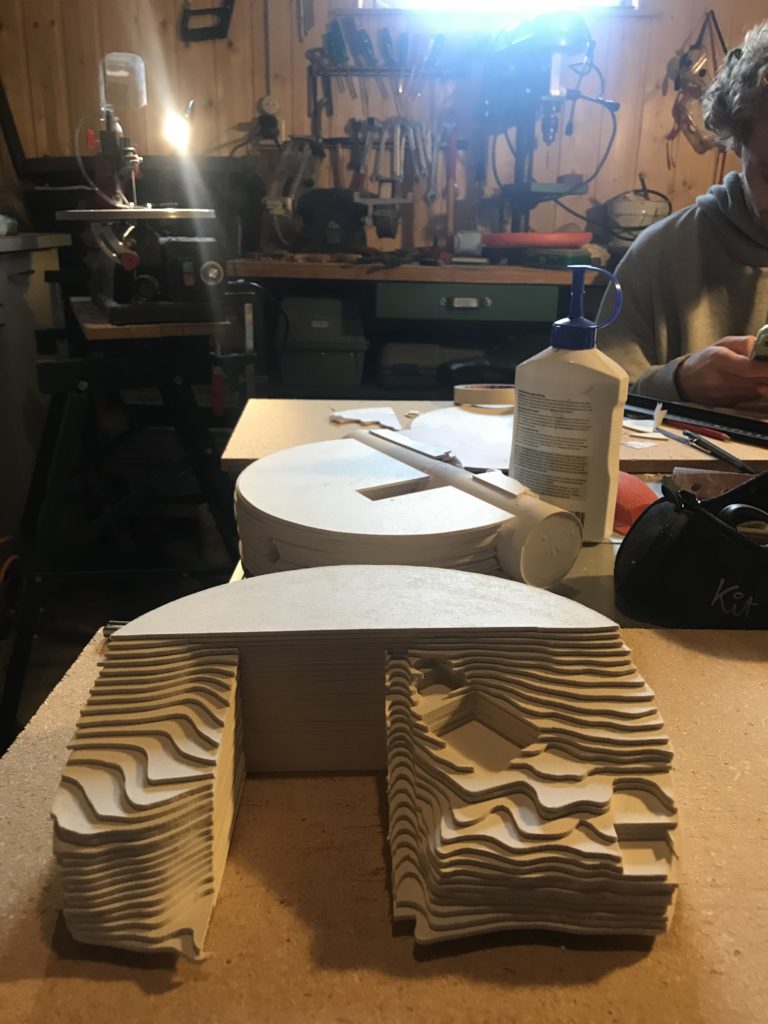
After long reflexions, we launched ourselves into the realisation of the model topography. We choose 2mm thick Finish cardboard as a base for our topography which would be at a 1/50 scale. This dictated the number of layer needed, 62, which we extracted one by one as level curves from our Rhino model.

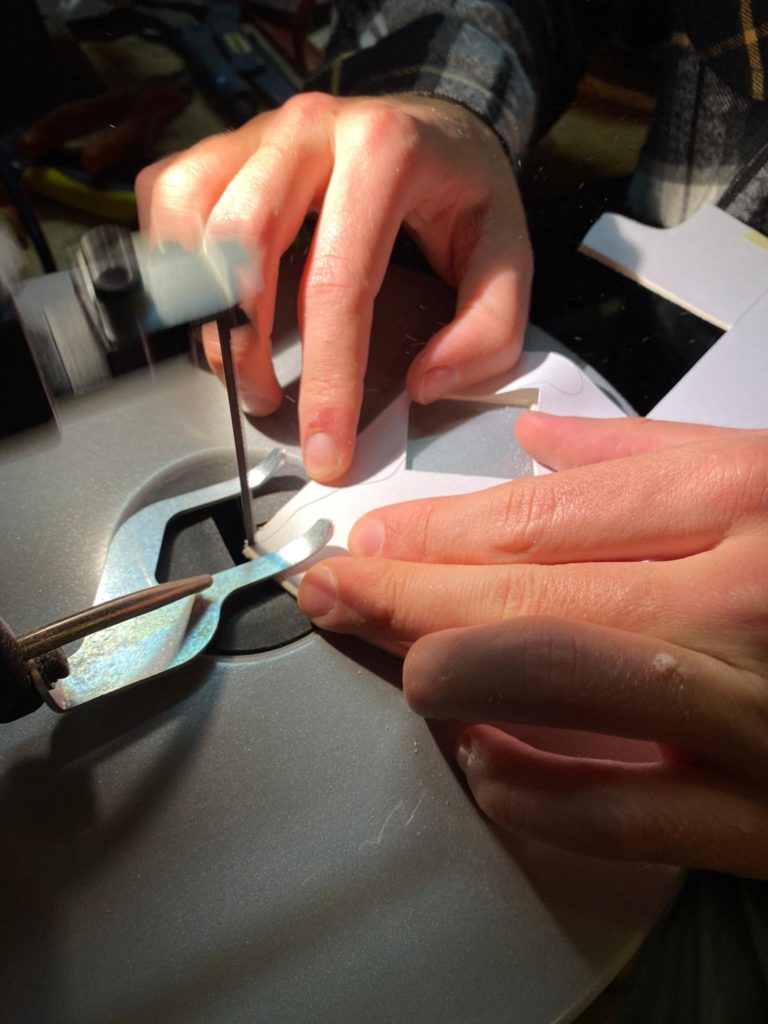
We then printed each layer one by one in order to gain maximum precision in the final cut. The Finish cardboard we use is a mix between wood and cardboard, making it easy to cut with a cutter and as well with a saw.
At first, we only cut the circles, serving as a basis. We figured out later that we should have cut all circles at once because the small differences between each circle were quite annoying to handle later in the process. We would have saved time and managed to have a more aesthetic result at the end. But anyway, we will know for the next time.
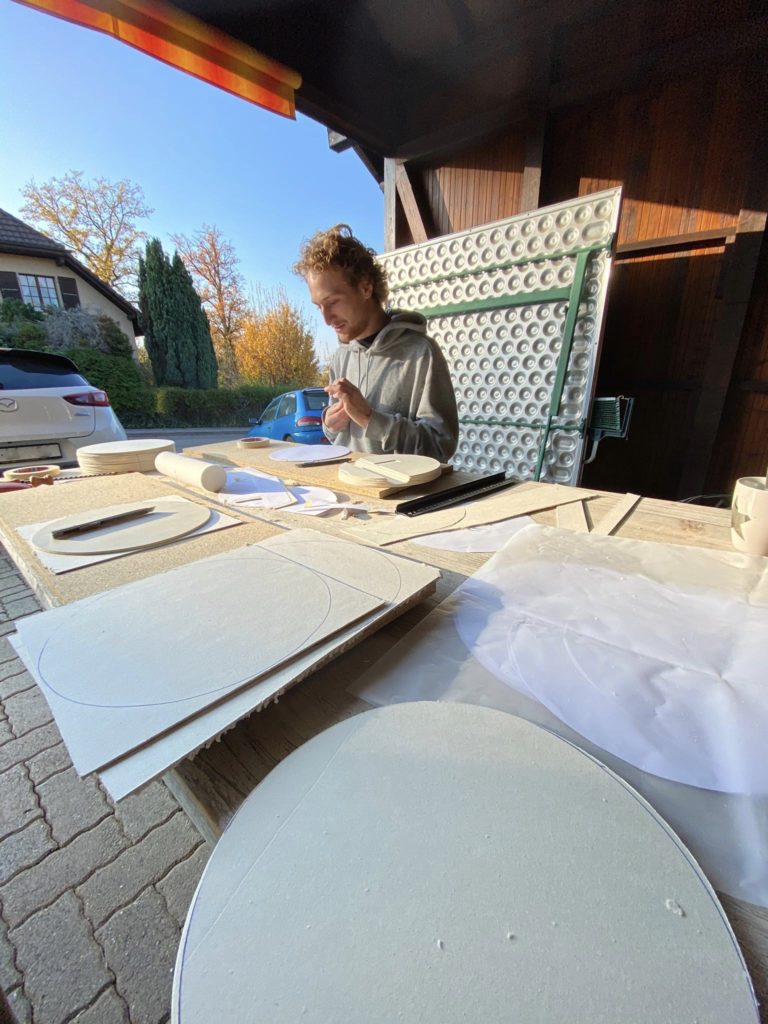
Once the base circles were cut off, we arranged the printed layers on the Finish cardboard and cut the level curves in each circle. Then we glued the layers on top of each other.
We finished late on the night, but we thought that was worth it.
Final touch, the unification of the parts … As said earlier, all circles were slightly different because we cut them one by one. So it was almost impossible to have a smooth finish on the side, sadly.